Set up a new Mac with Linux VM
Follow this guide to set up a new Mac development machine with a Parallels virtual machine.
Prerequisites
This guide assumes you have a machine running Apple Silicon (M1 or M2).
You'll need to install Parallels, or another virtualisation platform of your choice.
Carta has a corporate license for Parallels, which you can request through Productiv (sign in using Okta).
Getting access
Our source code is stored in a self-hosted GitLab instance.
Request access via Productiv (using carta.com Okta).
Creating the virtual machine
First, download the Debian 12 ARM64 install image.
In Parllels, from the File menu, select New....
Click Install [..] from an image file:

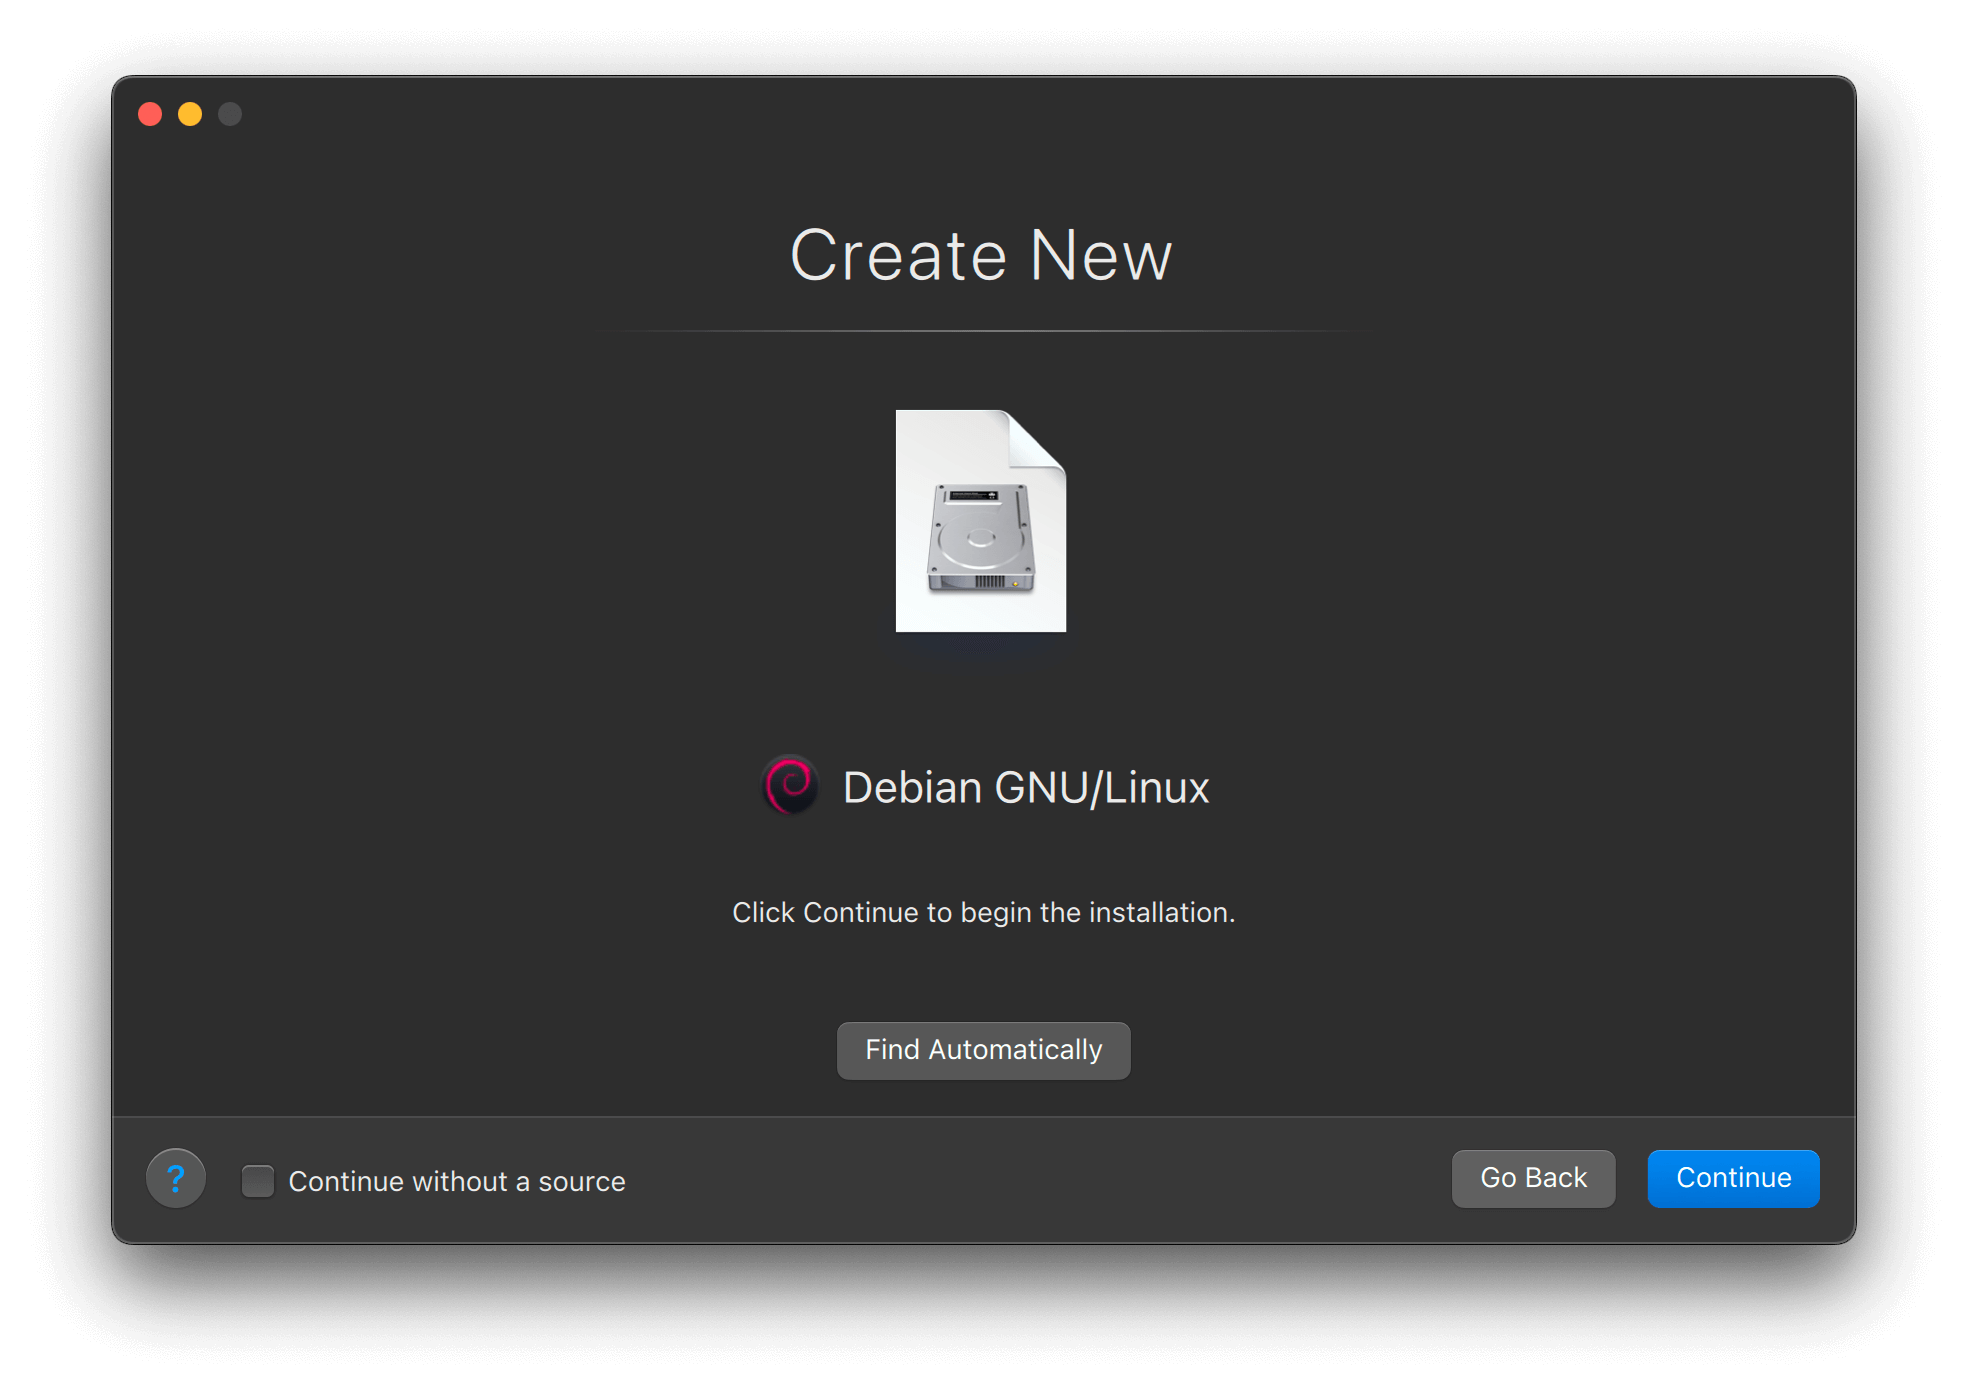
Click Continue, then drag in the downloaded image file. You should see the Debian logo appear.
On the next page you can select a name for the VM. For the purposes of this guide, we'll just call it VM to keep things simple.
Make sure you select the option to Customize settings before installation.
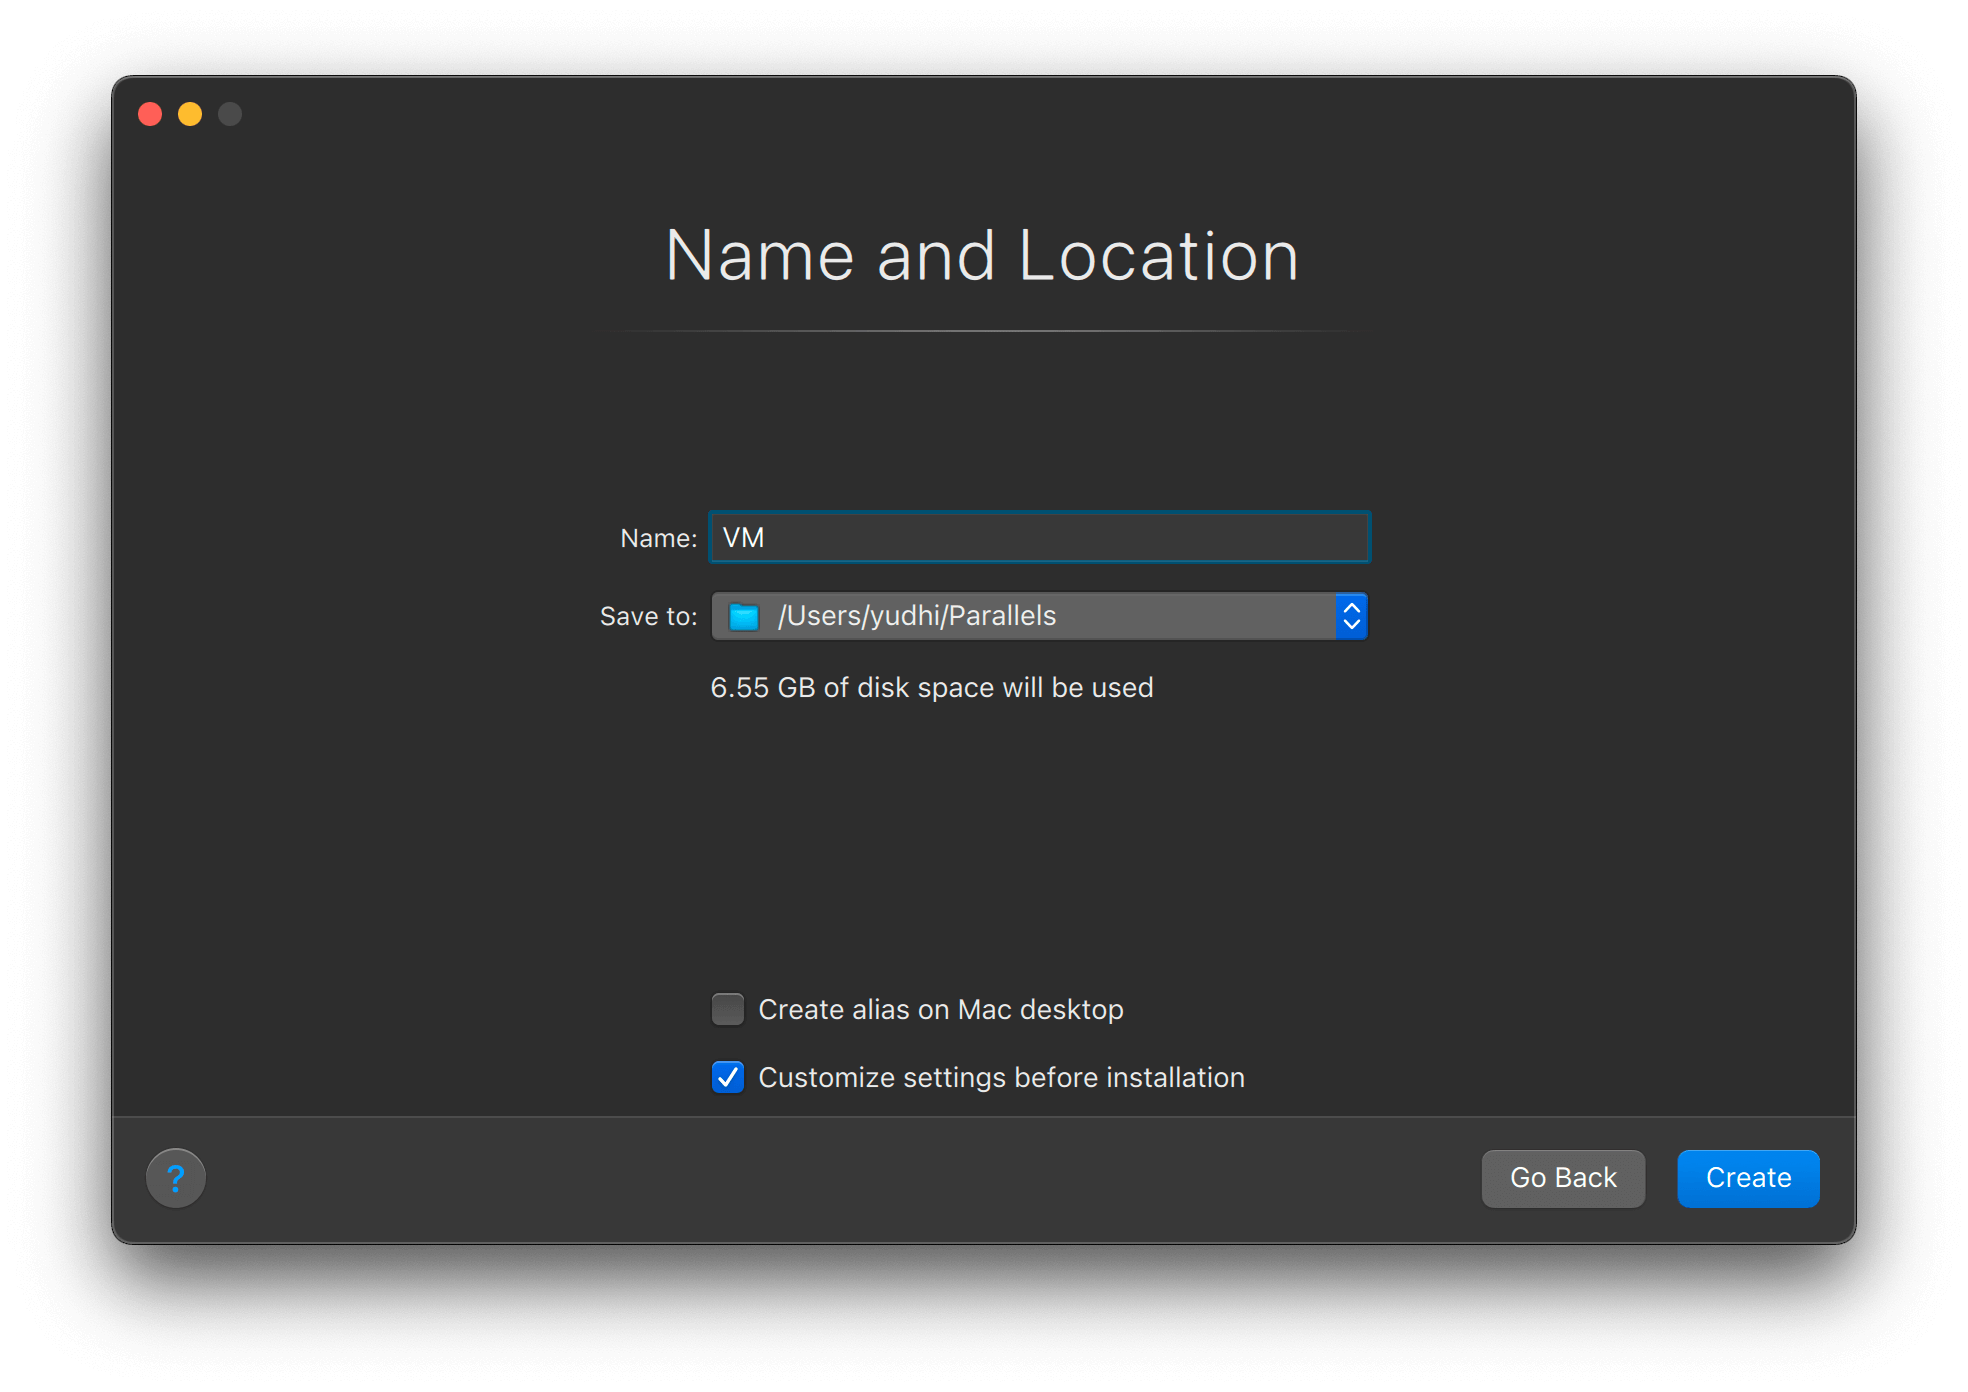
Click Create. You should wind up in the configuration dialogue.
Virtual machine options
These are some recommended options. You can change these later (some at any time, and some when the virtual machine is shut down).
Under the Options panel
- Startup and shutdown: Select
Always ready in background - Applications: Deselect all
Under the Hardware panel
- CPU & Memory: Select the maximum number of
Processors. Select an amount ofMemorythat is about 50% of the Mac's physical memory. - Hard Disk: Go to
Advanced|Propertiesand select about 200GB for the disk size, then clickApply.
When you're finished, close the window and click Continue to begin installation.
Installing the OS
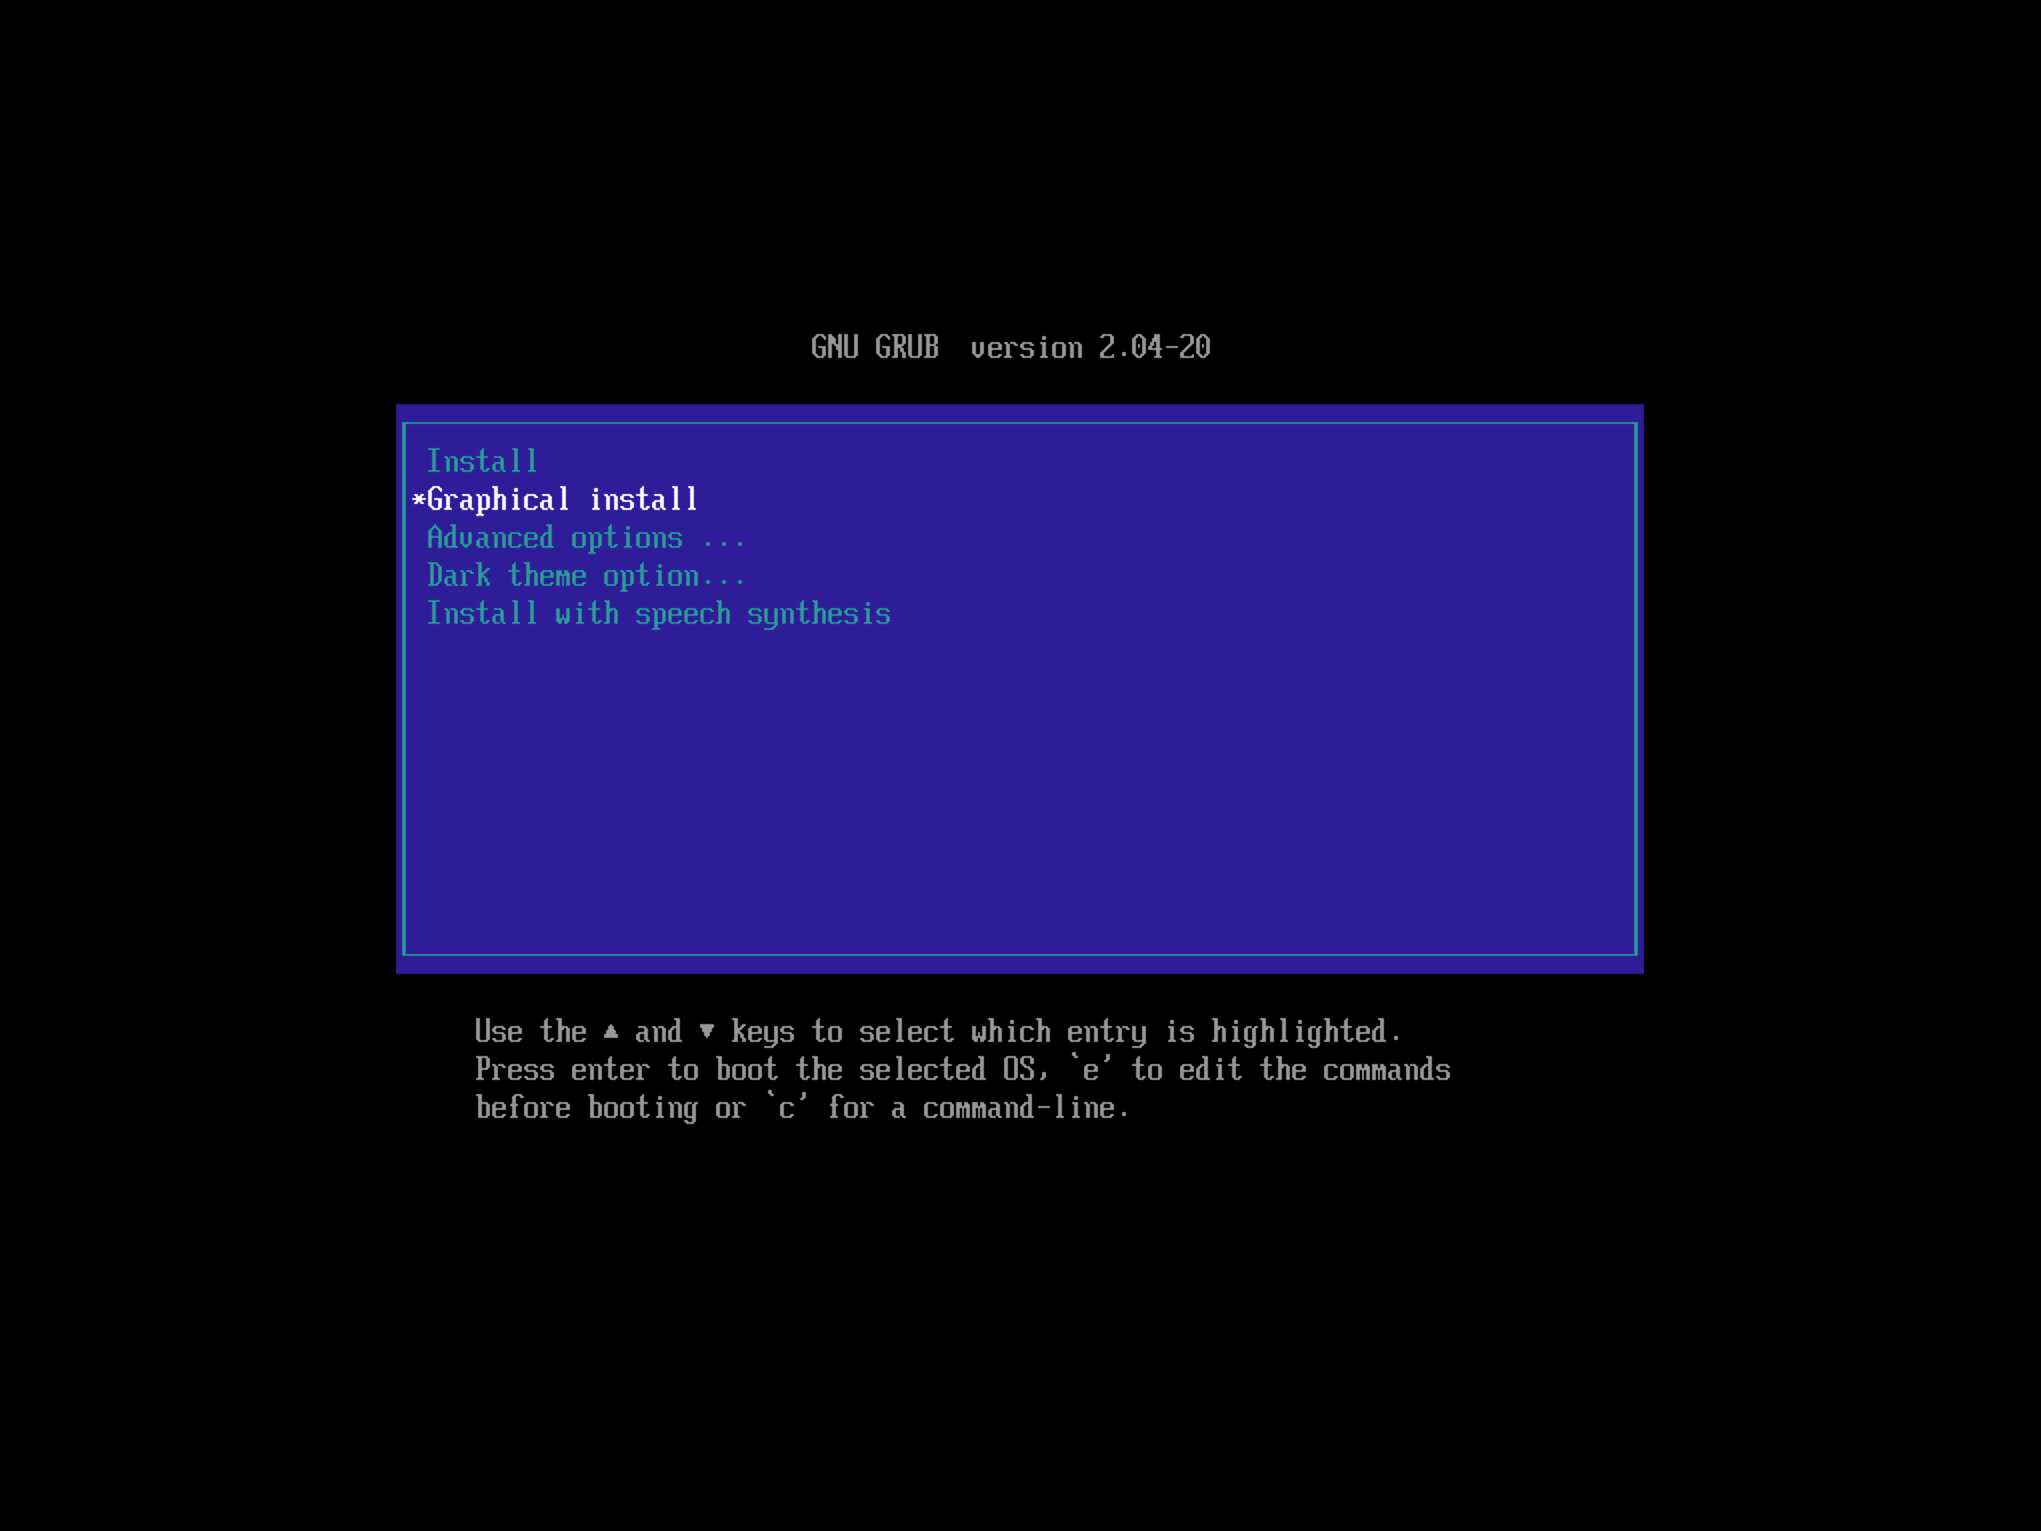
At the installer menu, choose Graphical install.
Select your language, location, and keyboard mapping.
Set a hostname of your choice. We'll use vm to match the name we used in Parallels.
Skip past the domain name setting (unless you have some special requirement).
Enter a root password.
Enter your full name, then non-root username, and password. This will be the user ID that you use to log in to the machine.
Select your timezone.
When prompted for a partitioning method, select Guided - use entire disk, then All files in one partition. When asked Write the changes to disks?, select Yes.
After the base system packages are installed, you will be prompted to Scan extra installation media? — select No.
Select the default mirror location and leave the HTTP proxy setting blank.
When asked to Participate in the package usage survey?, select No.
You will then be prompted to Choose software to install. If you want to install a graphical environment, you may select it here. Otherwise, leave the selections alone and Continue.
Installation will complete with a reboot of the virtual machine.
After rebooting
At the login prompt, enter root and the root password you configured during the installation.
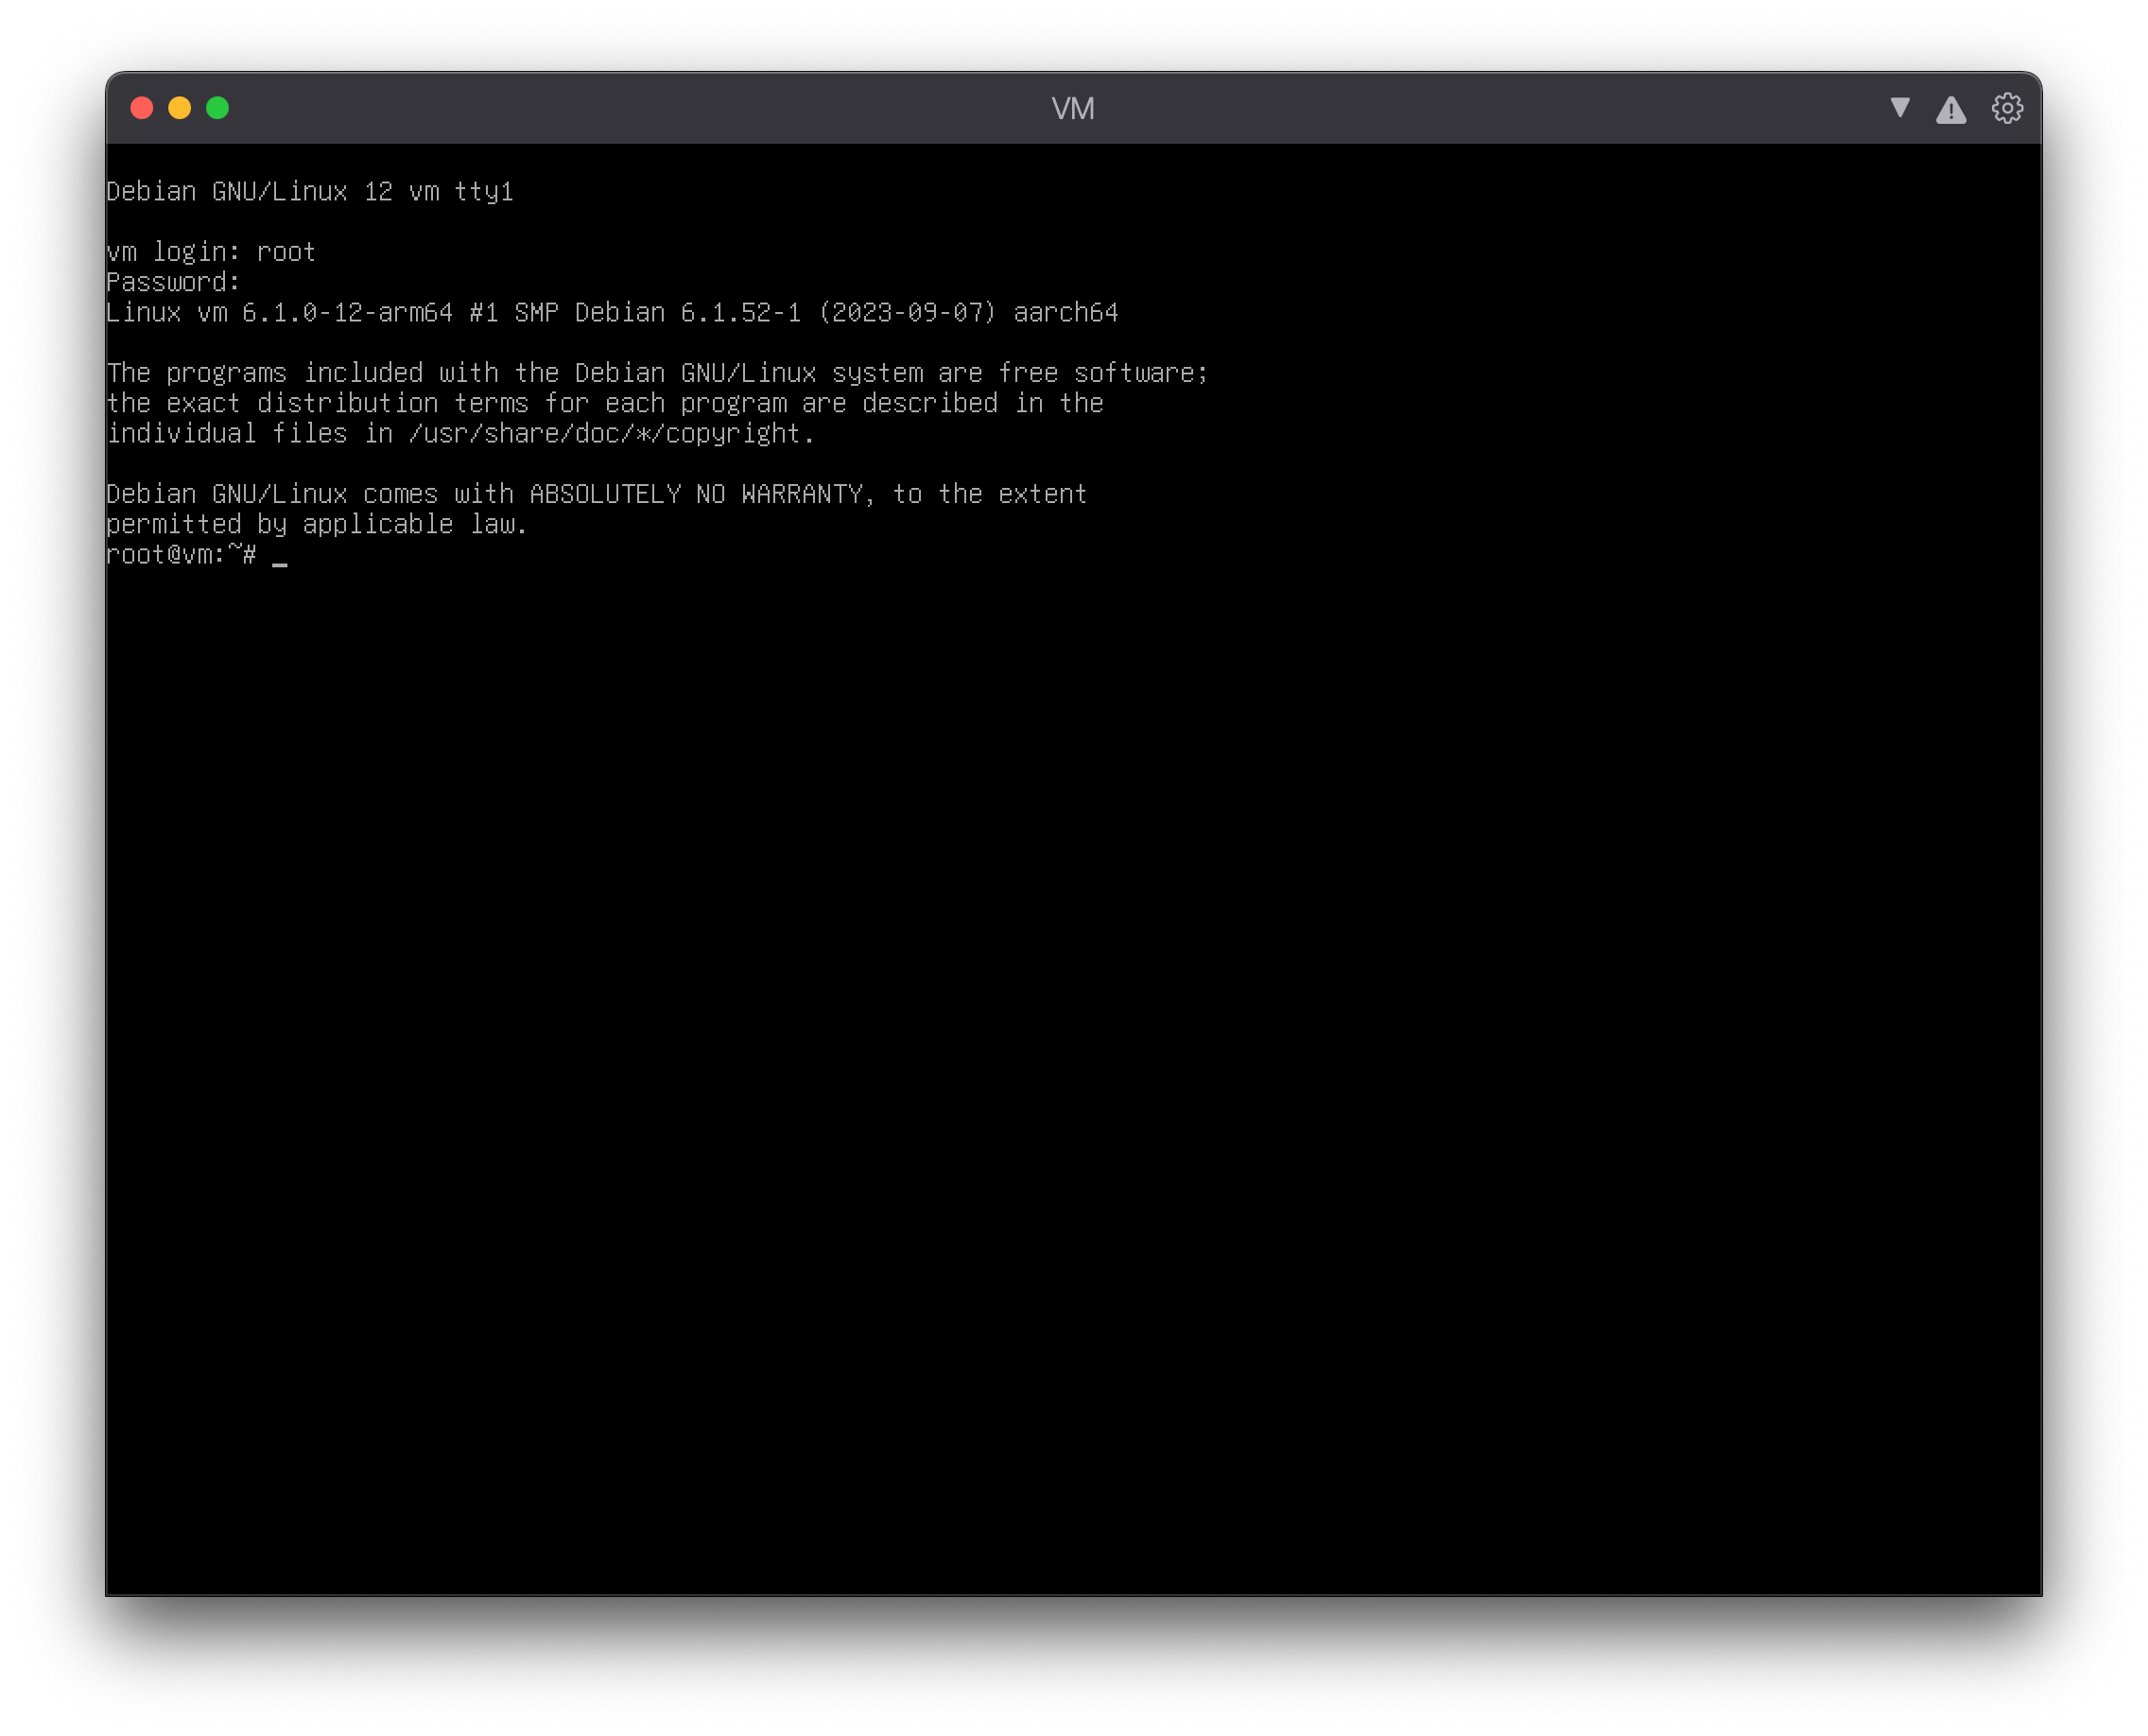
You won't be able to paste any commands into this window. We'll do the bare minimum here and then switch to using a more user-friendly terminal.
First, install sudo for privilege elevation. Add your user ID to the sudo user-group, and enable password-less access (this is optional, but makes life easier).
apt install -y sudo
usermod -aG sudo <your username>
echo '%sudo ALL=(ALL:ALL) NOPASSWD:ALL' > /etc/sudoers.d/nopasswd
Where you see
<your username>, substitute in your actual username.
Then, reboot to apply the changes.
reboot
Setting up password-less SSH
From this point on, we'll run all commands in a terminal app, instead of the virtual machine window.
Terminal recommendation: iTerm2
Generating a key pair on the Mac
If you don't already have an SSH key pair (or aren't sure), start by generating one.
ssh-keygen -t ed25519
Press Return to accept all the defaults (unless you want to use a passphrase).
Copying the key to the VM
ssh-copy-id <your username>@vm
Replace
<your username>with the username you chose within the VM, andvmwith the lowercased form of the name you gave the VM in Parallels.Note that this isn't necessarily the same as the hostname you chose during the install process, but hopefully you made them the same!
Logging in to the VM
ssh <your username>@vm
If you've followed the previous steps, you should get logged straight in without being prompted for a password.
Installing and configuring zsh
This section will walk you through configuring zsh as your default shell.
We recommend following these steps so everyone has a consistent experience. If you have strong feelings about your shell environment, you can skip this section, but you’ll be on your own.
Wherever you see a block of commands like the one below, feel free to paste them all in at once.
sudo apt install -y zsh git
wget https://raw.github.com/ohmyzsh/ohmyzsh/master/tools/install.sh -O - | bash
git clone --depth=1 https://github.com/romkatv/powerlevel10k.git ~/.oh-my-zsh/custom/themes/powerlevel10k
sed -i 's/^ZSH_THEME="robbyrussell"/ZSH_THEME="powerlevel10k\/powerlevel10k"/' ~/.zshrc
zsh
After the above steps, you should see the Powerlevel10k configuration wizard:
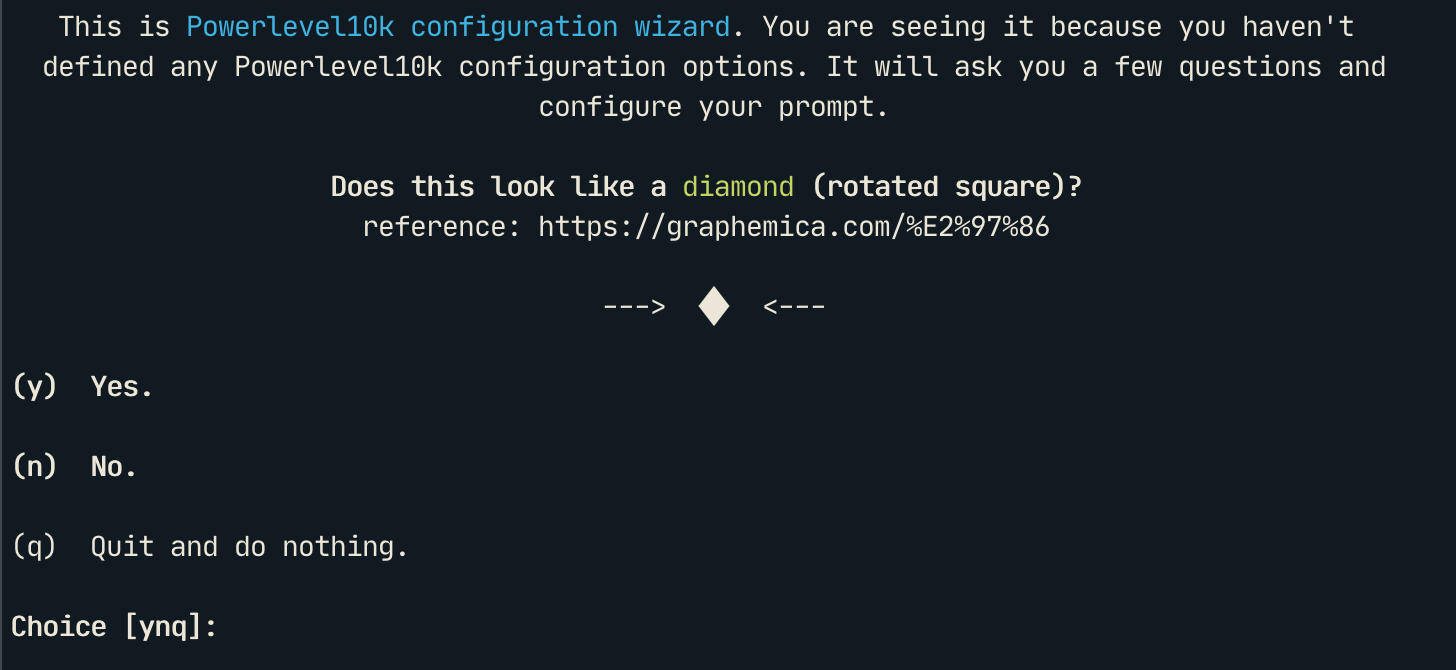
Before going any further, you should install and set your terminal to use a Nerd Font for the best experience, otherwise you’ll miss out on a bunch of glyphs.
Paralysed by choice? Don’t mind the font in the screenshot above? It's
JetBrains Mono Nerd Font.
Complete the wizard by choosing whatever prompt styles appeal to you. There are no right answers.
When you get to Apply changes to ~/.zshrc?, select Yes. The wizard will end and you should see your prompt take effect immediately. If you don’t like it, you can run the wizard again by running p10k configure.
Configure zsh to be your default shell:
chsh -s $(which zsh)
Lastly, do one more reboot so that the change to the default shell takes effect.
sudo reboot
Next steps
Now you're ready to set up an SSH key and your Git identity.
Special Steps
These are only for marketgrid, KDB and using production snapshots. If you do not need this, you can skip this.
For the KDB license, you need to set the hostname to end in marketgrid.systems. Our license expires end of 2023.
Edit /etc/hosts and insert vm.marketgrid.systems as an alias.
127.0.0.1	localhost
127.0.1.1	vm.marketgrid.systems vm.localdomain	vm
For large enough shm to load production setups, edit /etc/fstab and add a line for shm at the bottom.
none /dev/shm tmpfs defaults,size=24G 0 0